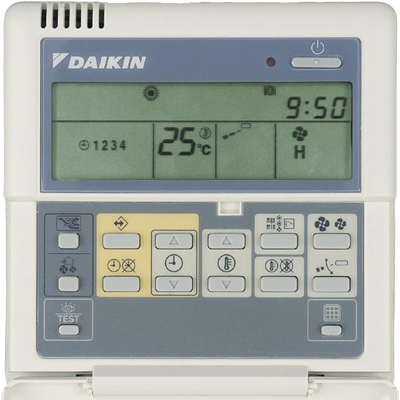
Swapping my old, yellowed BRC1C controller (the big, calculator style wired remote from about 15 years ago) for the Madoka was surprisingly simple. The wiring is just two wires (P1 and P2). I turned the system off, removed the old controller, connected those same two wires to the Madoka terminals, mounted it on the wall, then powered everything back on.
 to
to
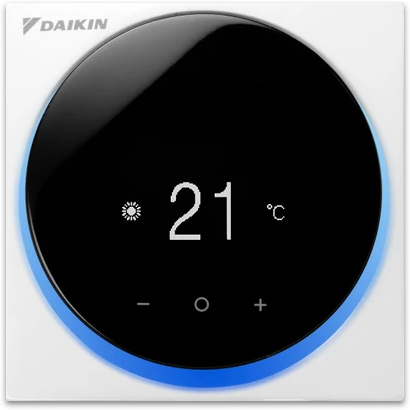
It worked right away. Cooling, fan speeds, and all modes were available, with no errors and no extra setup. The Madoka is also a huge visual upgrade, it has a clean round design, easy touch controls, and a clear display. It also comes in white, silver, or black. Looks aside, the best feature is built in Bluetooth, which lets you control it through Home Assistant.
My AC is on a different floor than my Home Assistant server, so I used an ESP32 as a Bluetooth bridge (using code from Petapton). The ESP32 connects to the Madoka over Bluetooth and to Home Assistant over Wi-Fi. This setup has been running without issues for more than two years. Here is the ESPHome configuration I used:
...

external_components:
  - source: github://Petapton/esphome@madoka
    components: [ madoka ]

esp32_ble_tracker:

esp32_ble:
  io_capability: display_yes_no

ble_client:
  - mac_address: <mac_address>
    id: madoka_climate

climate:
  - platform: madoka
    name: "Madoka Climate"
    ble_client_id: madoka_climate
    update_interval: 15s

...
Unfortunately, Heating Barely Worked After the Swap ...
I’m unsure if it was related, but cooling worked perfectly while heating was disappointing. The unit would blow warm air for 5–10 minutes, then throttle back dramatically—never reaching the setpoint. For example, starting at 13°C and set to 25°C, it stalled around 16°C.
We checked the refrigerant and it was fine. My guess was a sensor issue: maybe the indoor unit temperature sensor was failing, or maybe the system was still using (or searching for?) a different sensor than the one in the Madoka. Once I told the indoor unit to prioritize the Madoka’s built in temperature sensor, heating immediately started working the way it should. The system now reaches the set temperature normally.
How to set the unit to prioritize the Madoka sensor?
- Download the free Madoka Assistant app (iOS/Android, connects via Bluetooth)
- Pair the app with your Madoka.
- Unlock installer mode: Go to About > Tap "Application version" 5 times.
- Navigate to Unit settings > Field Settings > Indoor Unit.
- In Mode 10 (or 20 for group setups) set Second Code 2 (thermistor priority) to 03 (only remote controller sensor).
- Optionally, in Mode 1c set 01 (thermostat sensor) to 02 (controller thermistor).
- Apply the changes — the unit restarts briefly. Test in Heat mode with high fan and a setpoint well above current room temperature.
One more note about the Madoka: it has an ambient light ring. Some people (on Reddit) find it annoying in a dark room, especially in a bedroom. The good news is you can usually adjust it in the installer settings, including dimming it or turning it off completely.
Disclaimer: Turn the AC system off before changing wiring or touching the controller terminals. And be careful in installer and field settings. These menus can change how the unit runs, and the wrong value can cause errors, poor performance, or even stop the system from working until the settings are corrected. Take screenshots of every setting before you change anything. Change one thing at a time, then test. Write down the original values so you can put everything back if needed. If you are not comfortable doing this, ask a HVAC technician to handle it. This is just my personal experience, shared for reference. I cannot guarantee it will apply to your system, and I’m not responsible for any damage on your equipment.